I opened an upstairs window to look outside and set up a tripod to shoot the three cameras at full zoom at my wonderful Yellow-Twig Dogwood, which of course is all yellow twigs and no leaves as we enter the spring season. The fence in behind was painted back around 1998 and so is a little bit worn out, but being covered all summer long by the very large and full bushes in front of it pretty much eliminates any incentive to deal with it :-)
Anyway, I shot these in manual mode on tripod with IS shut off and self timer release, so there should be essentially no issues with the images.
I shot both M and L images in both JPEG and RAW, but since there is no Adobe support at this time, I will start by looking at the JPEGs. The Fuji JPEG engine is pretty excellent, so there is no real issue with using the JPEGs. The inherent advantages of RAW are somewhat mitigate on a dull day like today because it is so easy to get a decent exposure.
I’ll first show you each camera’s rendering of the image after an identical pass through Lightroom 4 and OnOne’s Perfect Effects Free Edition. This latter tool is pretty amazing in that you get all these wonderful effects and a layers engine to boot. Plus, a simple masking tool and brush tool, so you can do some serious work with no investment at all. It works as a stand-alone processing engine, so if you’ve been looking to work with a sophisticated engine consider trying this out.
Meanwhile, I used two effects – Amazing Details and Landscape Natural – and since each is on a separate layer I dialed in the amount I wanted. I then saved a present and applied it to the image I was processing first. It automatically applied the effects to all the loaded JPEGs and saved a PSD (layered Photoshop) file for each, not touching any of the existing originals or edited files, which is Lightroom’s great strength.
The first set is shot at 500mm effective focal length (EFL), including the HS50EXR. At the end I show the HS50EXR at 1000mm EFL. Note also that I show the HS50EXR at both f/5.6 and f/8. When you see the crops in the next section you will see why.
Note that the HS50EXR, being the only camera with a tunable JPEG engine, is shot with all tone and sharpness settings on low so that the JPEG engine applies as little “bruising” as possible. You will see a bit later that this makes a huge difference, especially at L size.
And without further ado:
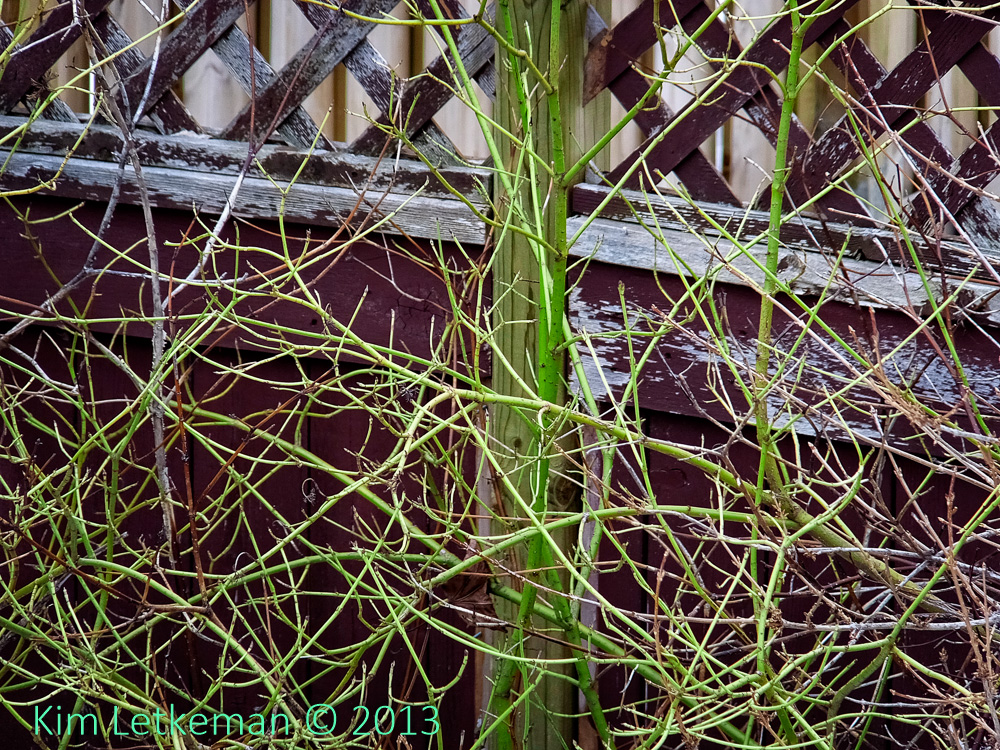 F900EXR 100iso f/5.3 1/40
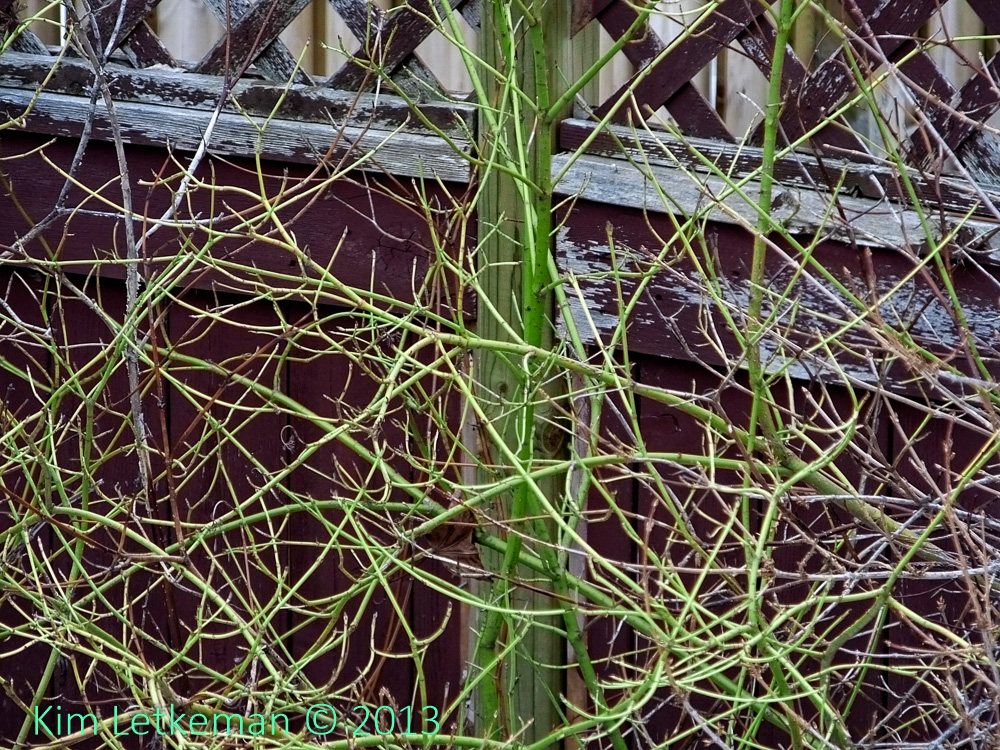
HS50EXR 100iso f/5.6 1/50

HS50EXR 100iso f/8 1/25
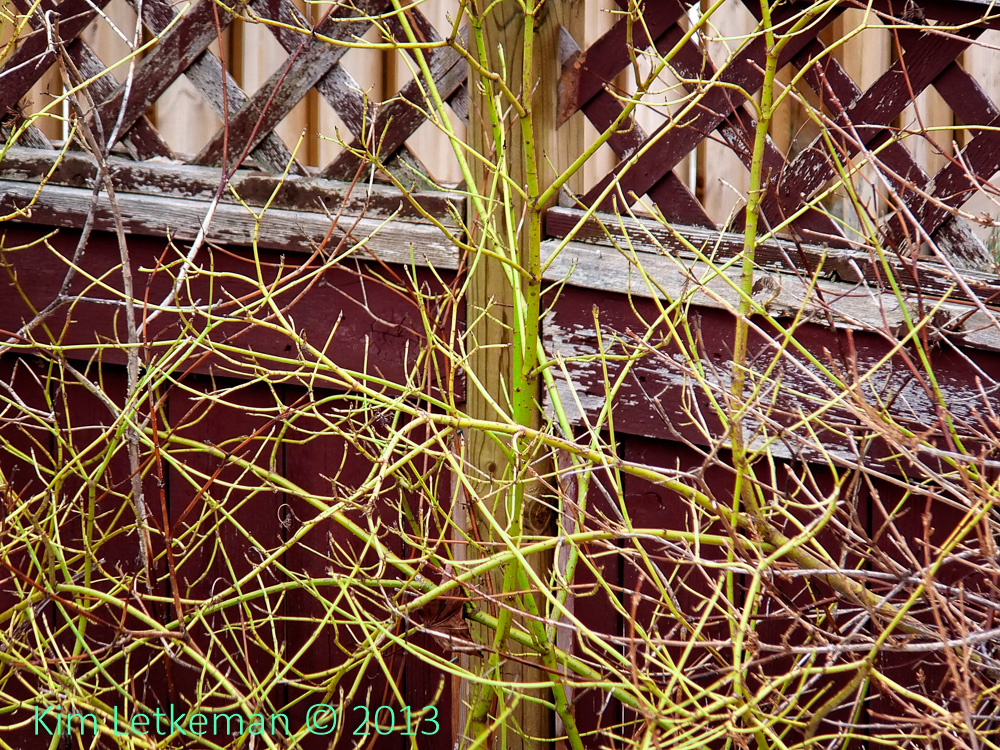
F770EXR 100iso f/5.3 1/30
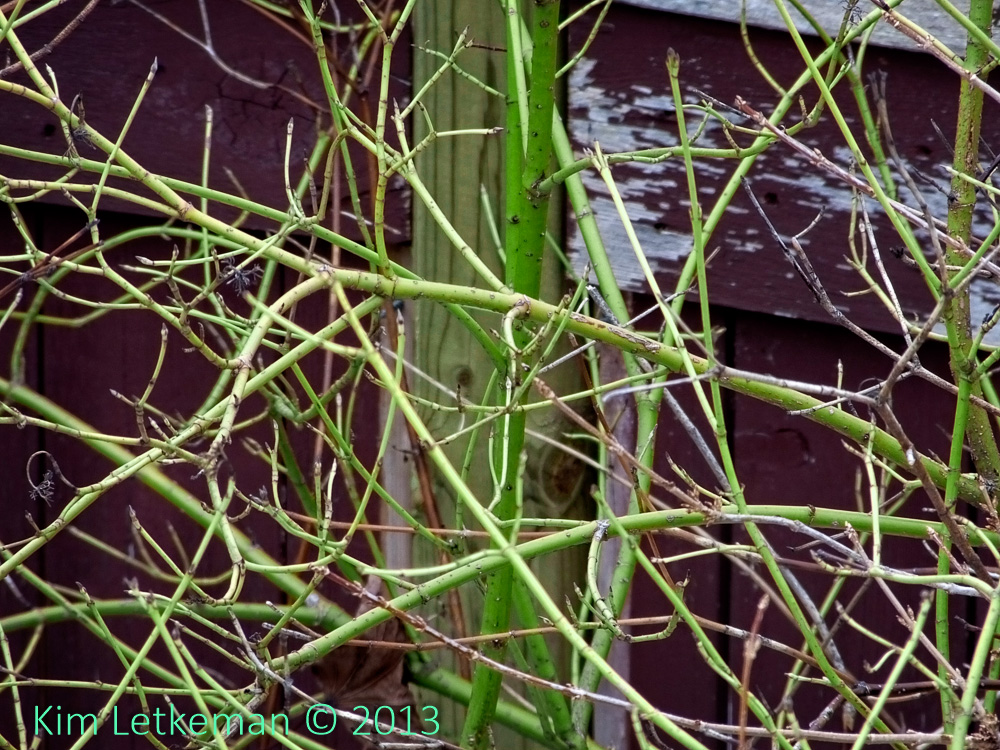
HS50EXR @1000mm 100iso f/8 1/20
Observations
The F900EXR looks the best in both tone and detail. The F770EXR is also good, with decent microcontrast, but you will see the results more clearly in the next section. The HS50EXR is a bit muted, but that is simply the controls that I toned down (pun intended) for this exercise.
All in all, they all look alike. Big shock. Same basic sensor technology, same JPEG engine. Duh.
And then there is this M versus L size debate. Some questions that need to be answered:
- Does L size render more details? This is not the same thing as simply spitting out more pixels.
- Generally speaking, no. There is no more detail. The HS50EXR is almost – but not quite – an exception in that the L files have quite a bit more clarity if you shoot the JPEGs correctly, with the tone, sharpening and noise reduction all turned down low. But simply sharpening the M upsized image more or less equalizes again, so the answer is that the actual results are essentially the same. This is, however, an improvement over the non-adjustable JPEG engines where edge degradation and smearing ruin the images when shot at L size. And shooting the HS50EXR at normal settings will also ruin the images, even if some people cannot see that degradation.
- Does L size crop better?
- By definition, no. The quality of the pixels is actually lower, so cropping is less useful in L size. Again, shot correctly, the HS50EXR images have almost no penalty for shooting L size (but if you sharpen them at all, you will see that there is still a touchiness that is not there on M sized originals.)
- Are there other penalties for shooting L size?
- I’m glad you asked that :-) Remember that L size has no binning or blending, which means that any dynamic range setting above DR100 is going to raise ISO and that is fatal to the images. Seriously. The immediate loss of details is noticeable. Of course, once downsized for Facebook it does not matter all that much. But be aware that it definitely removes some of the clarity through degradation of surfaces and edges both. Now, if this does not bother you, then you can shoot L size at any ISO safely. Because you are not really seeing the clarity that these cameras are capable of.
The bottom line is that I would not waste any time shooting L size. Too much risk of accidentally shooting at higher ISO or of blowing highlights and blocking shadows. I see no real upside since there is never an obvious detail advantage. I have seen people adamantly (indeed, stridently) claim otherwise, but their proof is invariably incompetently shot with blur or other issues destroying any possibility of seeing what is really going on.
This makes it sound like the difference is pretty subtle. And it is. But in any image that has a lot of fine, low-contrast surface or edges, you will get a great deal of damage that is not all that subtle any more. This ruins the acuity of the image and even at small sizes it is possible to see it. Your brain reacts viscerally to the acuity of an image, so if you remove the basic acuity, just downsizing will not bring it back. It shows, so don’t take the chance.
YMMV of course (but if it does, think long and hard why :-)
And now for some crops …. everyone’s favorite thing …
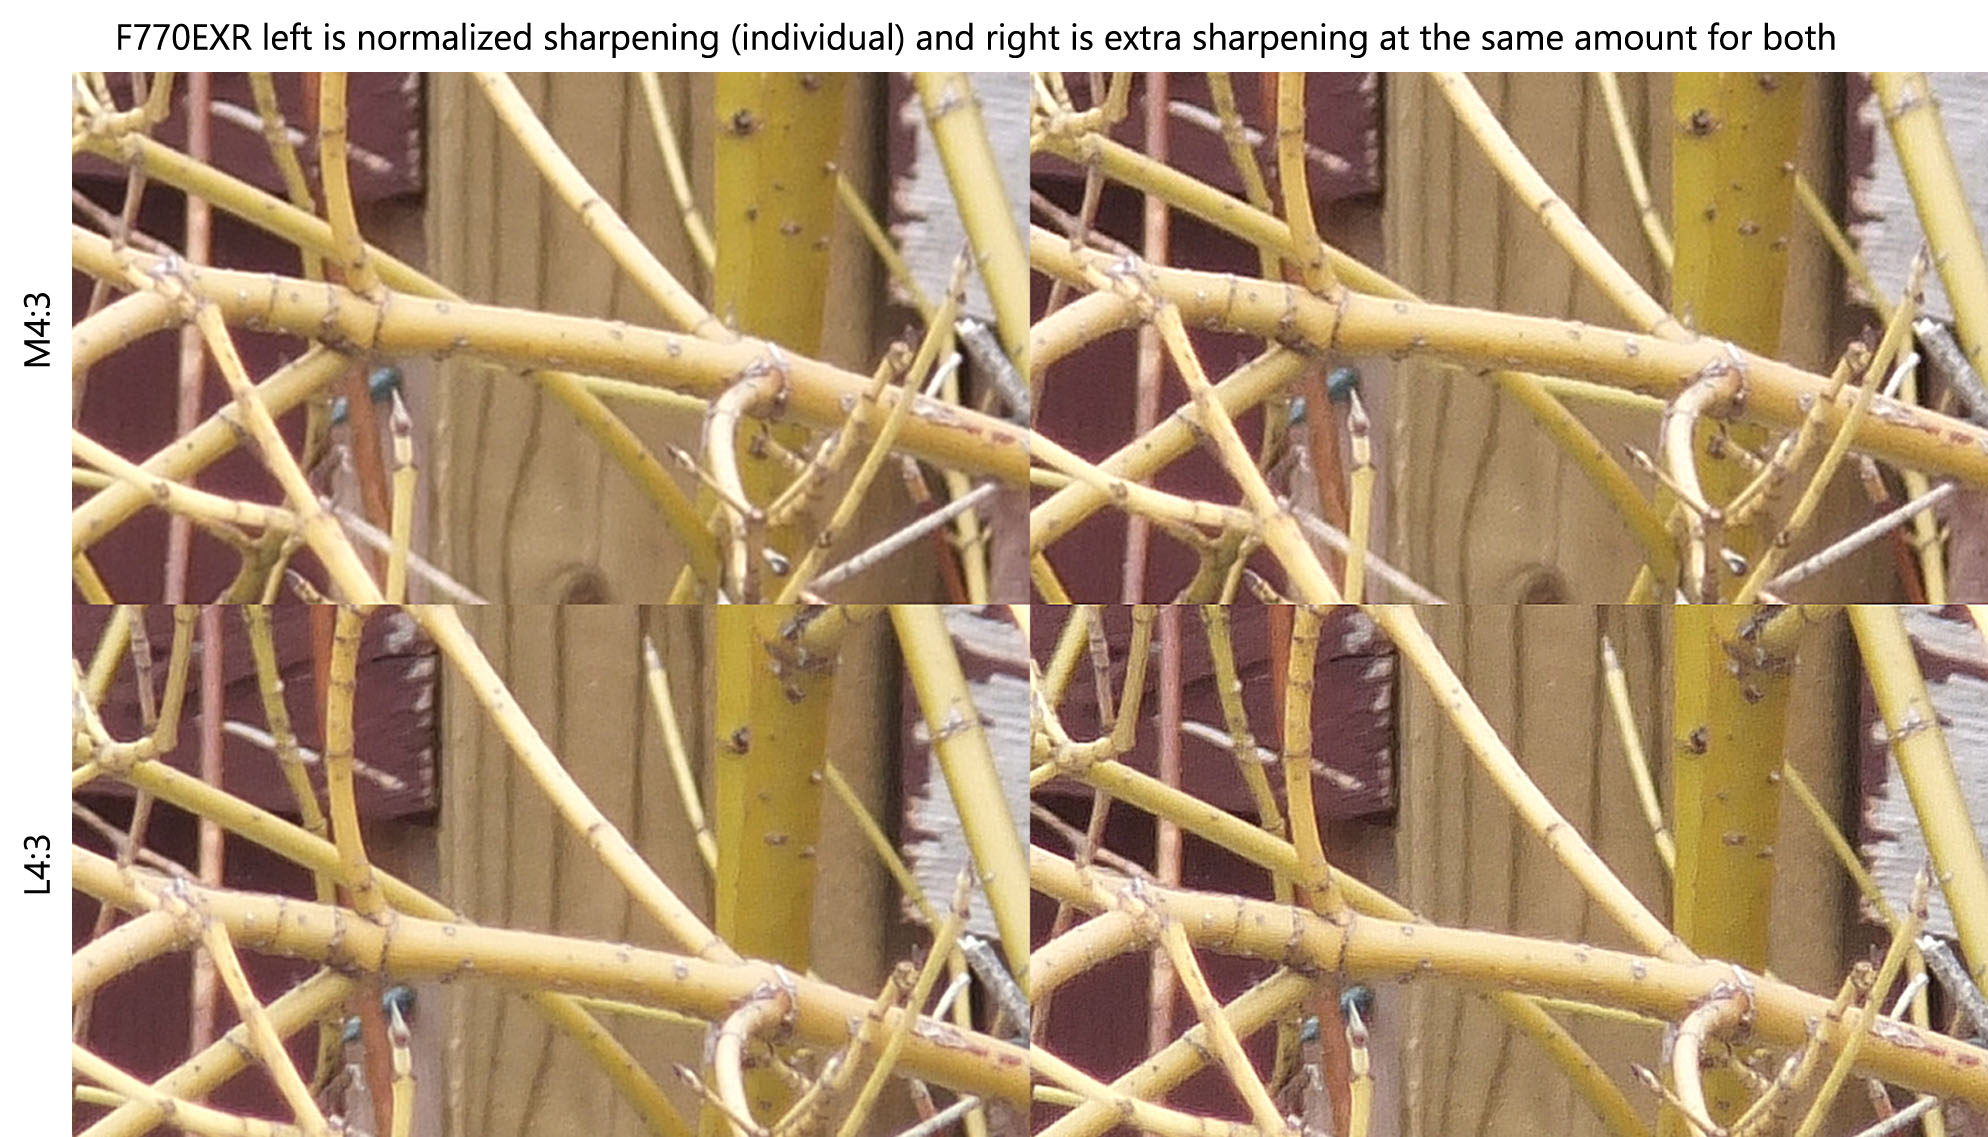
Here is a comparison between F770 at M and L size. The images are equalized with slight sharpening of the upsized M image, and then the whole image is slightly sharpened to accentuate artifacts a bit and magnified to make them unmistakable.
The image is huge, so please click on it and then expand it by cliking on it again.
So what should you see?
The L sized image is almost tolerable if you use it with no sharpening. But look in the top left corner and the issues with edges show clearly. Also on the fence post right edge in behind the thick vertical twig on the right side. The M size looks like a rounded edge, the L size has enough artifacts to take away from that illusion.
The limitations mentioned in the previous section do not go away either. There is a slightly higher acuity to branches in front at L size, but that is balanced by the increase in surface noise and other artifacts. Even a slight sharpening brings this out very clearly, destroying the image.
Update:
I just noticed something … holy crap! Look at the big, thick vertical twig at about the 1/4 mark from the right. Closest to the top of frame (higher on the M sized images) is a fairly big knot like thing. Then about half an inch down at full size, you will see a smaller but not insubstantial knot right on the visible vertical crease in the smooth bark. At least, you see it on the M sized images. On the L sized images it is completely gone! A victim, I presume, of the kinky EXR demoaicing algorithm.
Brain Farts ‘R Us
Thanks go to Mitchell Pollock for pointing out that there are two branches there and the famous missing knot is just behind the first one in the L sized image. Sheesh … my excuse is that I have had no time off in about 6 weeks and my brain is getting mushy. Since Fuji had the cameras available now, I decided to review them now despite my lack of sleep lately. This is what happens … :-)
The next statement remains accurate, though.
Just another reason why L sized images tend to underwhelm so often. Too much edge destruction, surface artifacts, distortion of details.
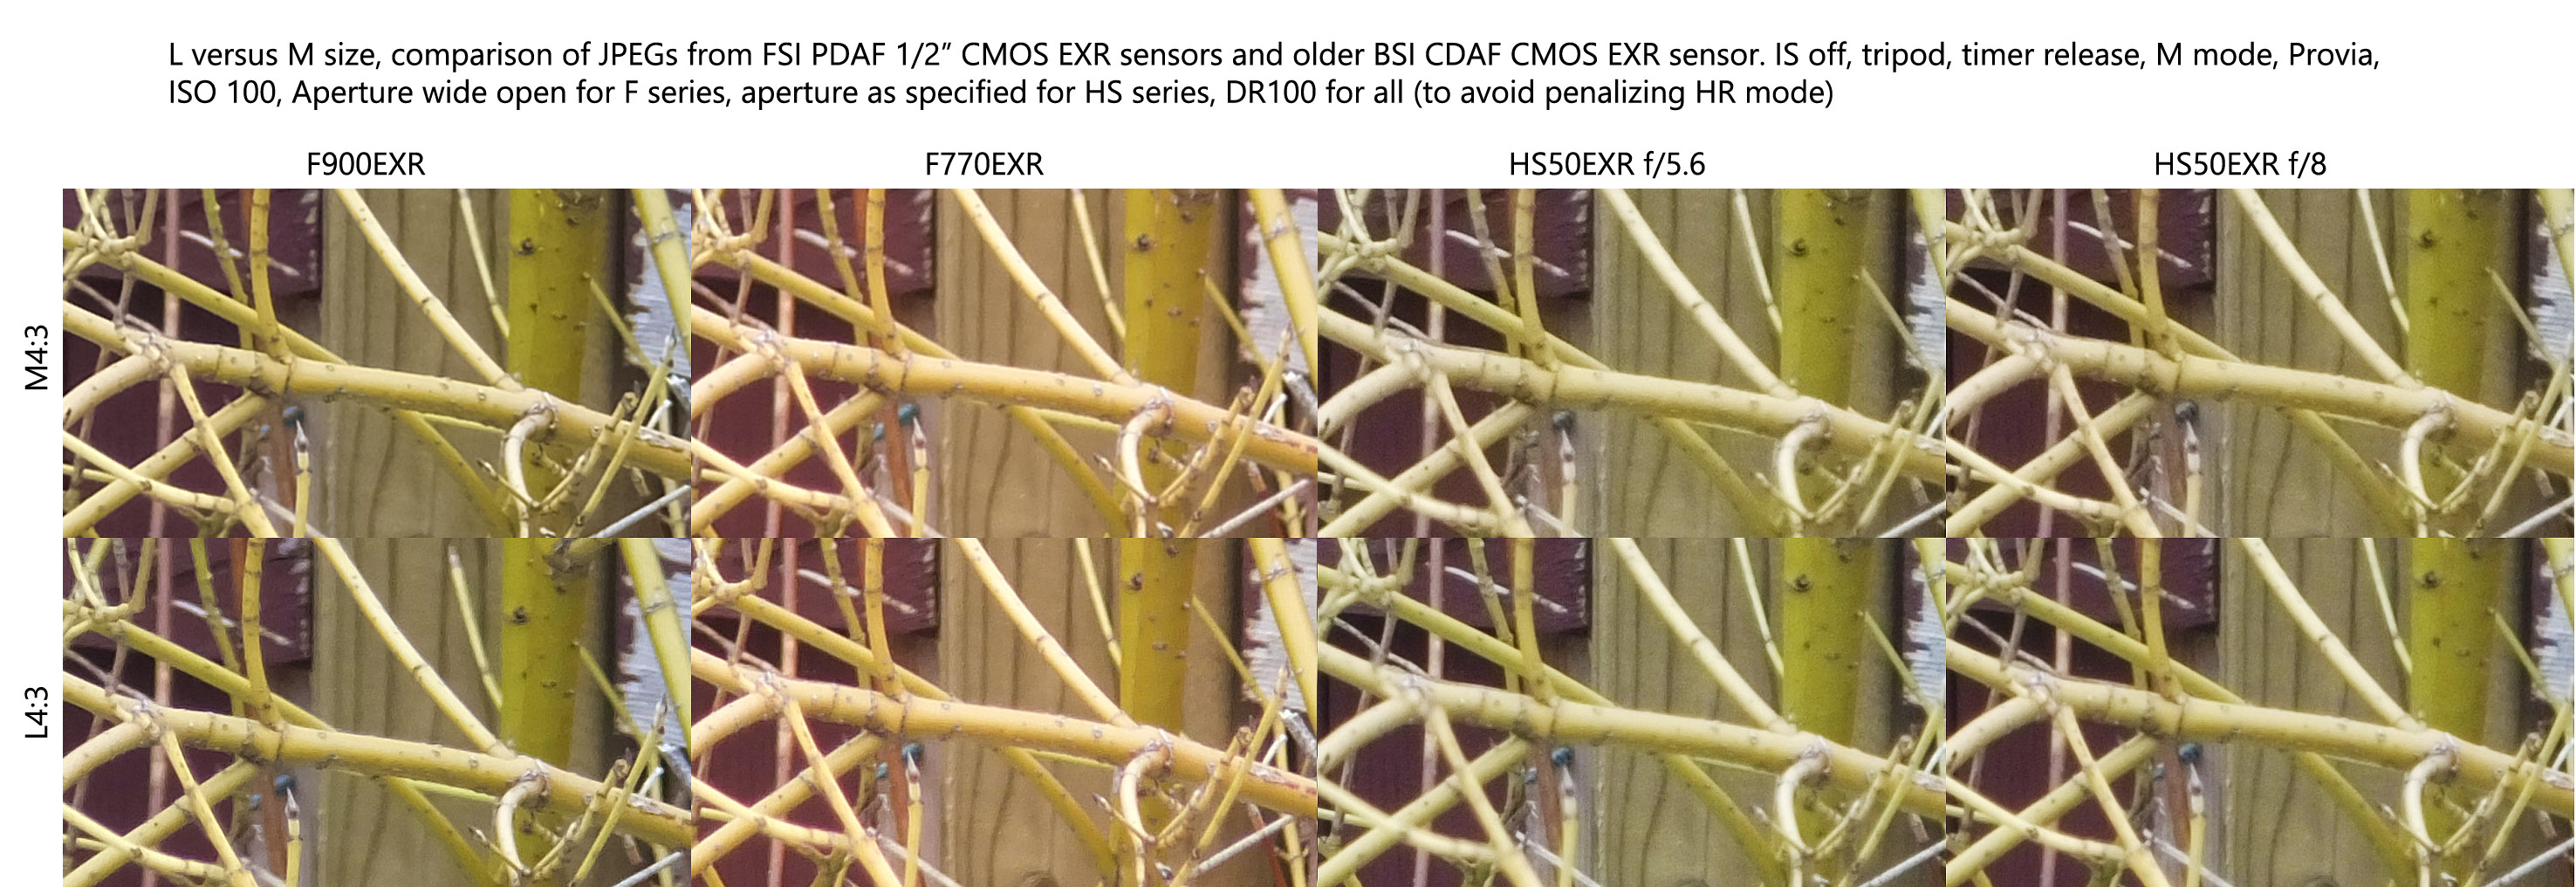
This next set of crops compares the three cameras with the HS shot at two apertures because the wide open image looked so awful on the LCD.
Now that image is MASSIVE, so please open it up and click to expand to full size.
Observations
The F900 looks a lot better than the F770 with better clarity which appears to come from cleaner detail and higher microscontrast. More evidence that they have tweaked the JPEG engine and are making great strides.
But it appears that the F900’s L sized image is worse in the background than that of the F700. Slightly cleaner in the foreground, but I don’t consider that much of a tradeoff. Top left corner is simply mangled by L size.
So how about the HS50? I added extra processing to the HS50 to bring back the detail, contrast and saturation I sacrificed to get a nice clean capture. The images look ok, but they do not sharpen up very well. The F900 pretty much stomped the HS50.
I will have to repeat the head to head with normal JPEG settings just to see what is going on. So far, the HS50 is a little underwhelming for sharpness. This clarifies for me why I have yet to see an HS50 image on the forums that blows me away. The lens may not be capable. It has, after all, galactic range :-)
The acuity is so weak that the M and L images look about the same. Not really any difference at all. WHich is not a good thing, because both are utterly crushed by the F770 and F900 in this test. Like I said … more testing required to see what is going on. Not much fun shooting a telescope that cannot resolve anything. Note that the extra noise comes from trying to pull sharpness. It should not be that difficult.
Conclusion
The F900 is really impressing me so far. The HS50 not so much. The F770 is holding its own, which is good … because I just bought the darned thing :-)
